

Mastering Odoo 19 import data workflows helps prevent moving business information into an ERP system from feeling like a major task, especially when customer details, products, employees, or other records are stored in spreadsheets. Entering every record manually takes time and increases the chance of typing mistakes.
Odoo 19 includes an import tool that lets users create or update many records from Excel (.xlsx) and CSV (.csv) files. Instead of entering information one record at a time, you can prepare a spreadsheet, map its columns to Odoo fields, test the data, and import it in bulk.
This guide walks through the process, from preparing your file to checking the imported records. The examples use common business data, but the exact fields available depend on the app, installed modules, and user permissions.
What can you import into Odoo 19?
Odoo supports importing data into many business objects. Common examples include contacts and companies, products and product categories, employees, CRM leads and opportunities, and other supported business records.
The import option is generally available from the relevant list view. However, not every model or field is necessarily importable in every configuration. Some records depend on related records, required fields, access rights, or specific business rules. Check the fields offered by the import screen before preparing a large file.
How to Handle Odoo 19 Import Data: Excel vs CSV
Excel (.xlsx)
Excel is convenient when a file needs to be reviewed or edited by people who are comfortable working in spreadsheets. Use a straightforward worksheet with one header row and one record per row. Avoid merged cells and decorative layouts.
CSV (.csv)
CSV stores tabular data as text separated by delimiters, usually commas. It is useful for exchanging data between applications and can be easier to process with scripts. Depending on how it was saved, you may need to check the delimiter, text encoding, date format, and decimal separator during import.
For a first import, consistency matters more than the format. If your team maintains source data in Excel, .xlsx is often convenient. If another system exports CSV, you can usually use that file after checking its structure.
Prepare your spreadsheet before importing
- Use one row for the column headers. Make the headers clear and descriptive.
- Keep one record per row. Do not merge cells or insert section headings between records.
- Remove blank rows, accidental spaces, duplicate records, and test data that should not be imported.
- Check required fields. A contact may need a name, while a product may require a product name and other fields depending on the configuration.
- Keep values consistent. Avoid mixing values such as “India”, “IN”, and “Indian” in the same country column.
- Review dates, numbers, phone numbers, email addresses, and Boolean values. Phone numbers and identifiers with leading zeroes should not be accidentally converted into numbers.
- Save a separate copy of the original file before editing it.
A useful starting point is the import template for the model you are working with. It helps identify available columns and may include field mappings Odoo recognizes automatically.
Step-by-step: Import an Excel or CSV file
Step 1: Open the correct app and list view
Log in to your Odoo 19 database and open the app containing the records you want to import. Navigate to its list view. For example, open Contacts to import contacts or Sales → Products to import products. Confirm that you are importing into the intended model.
Step 2: Open the import tool
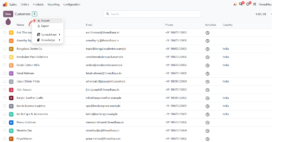
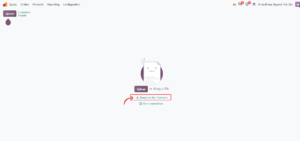
From the list view, open the Action menu and choose Import records. Download the model’s import template if one is available, or use a spreadsheet you have already prepared.
Step 3: Upload the file
Choose your .xlsx or .csv file and wait for Odoo to read its columns. For CSV files, review the formatting options if they appear. Check that the first row is interpreted as the headers and that the data is separated into the correct columns.
Step 4: Map spreadsheet columns to Odoo fields
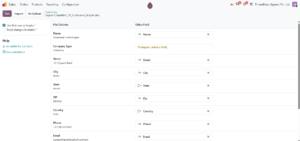
Odoo attempts to match file columns to fields. Review every mapping instead of assuming the automatic matches are correct. For any unmapped column, use the field selector to choose the appropriate Odoo field. Leave a column unmapped if you do not want to import it.
| Spreadsheet column | Possible Odoo field |
| Name | Name |
| Phone | Phone |
| شركة | Company / related company field, depending on model |
| Country | Country |
Field labels can differ by app, installed modules, and language. If you are unsure which field to select, compare the mapping options with a template or export a small sample from the same model.
Step 5: Test the import
Click Test before importing. Odoo checks whether the file can be processed and reports issues it detects. If an error appears, read the message, correct the spreadsheet or mapping, and test again. A successful test is not a substitute for reviewing the resulting records.
Step 6: Import the records
When the test completes without blocking errors, click Import. Wait for Odoo to finish processing the file. The time required depends on the number of rows, the complexity of the records, and the database configuration.
Step 7: Verify the result
Return to the relevant list view and check the imported records. Open a few records to confirm that the values landed in the correct fields. If you imported relationships, verify that the linked records are correct. Compare the number of imported records with the source file.
Understand field mapping and related records
A spreadsheet column does not automatically mean that Odoo will place the value in the field you intended. Field mapping tells Odoo how each column should be interpreted. This is especially important for relational fields, which connect one record to another.
Using names to link related records
For a simple import, Odoo may be able to match a related record by its name. For example, a contact may refer to a company already present in the database. This is convenient when names are unique and consistent. If multiple records have the same name, a name-only match can be ambiguous.
Import related records in the right order
If one record depends on another, import the referenced records first. For example, create product categories before importing products that use those categories, or import companies before contacts that must be linked to them. The correct order depends on the relationships in your data.
When external IDs are useful
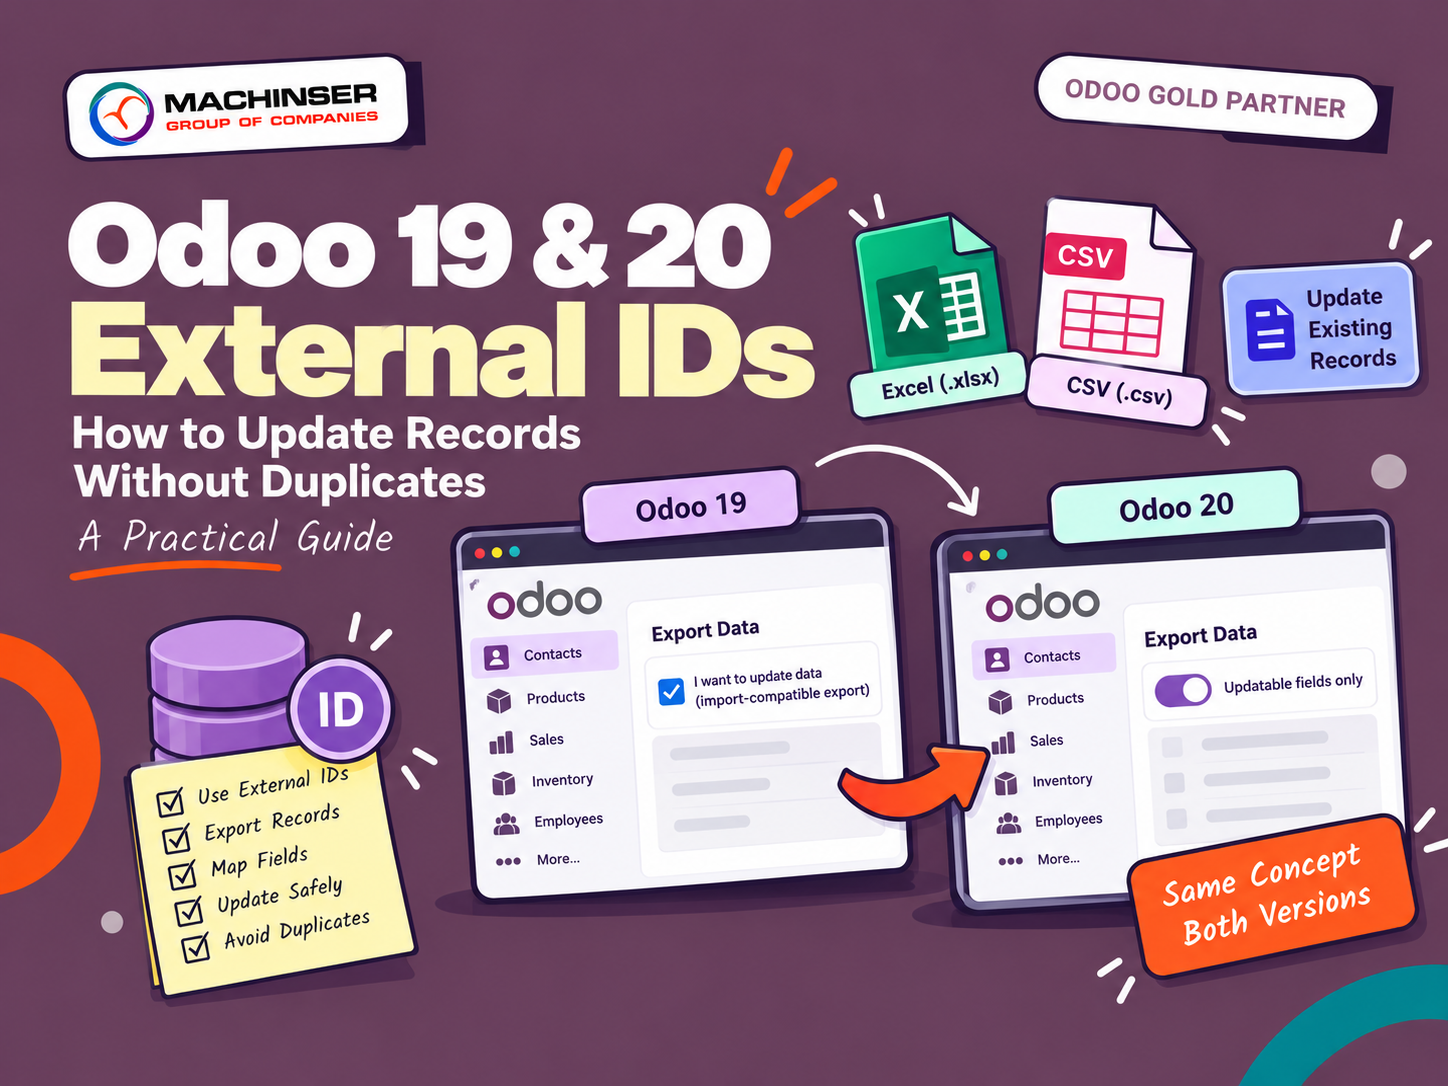
An External ID is a stable identifier that can be used to refer to a record across imports. It is particularly useful when updating existing records or connecting records across multiple files. Keep each External ID unique and consistent. When importing linked records, use the appropriate relationship field and External ID mapping offered by Odoo.
Do not add an External ID column casually without understanding its purpose. Reusing an identifier can cause an import to target an existing record rather than create a new one. For complex migrations, test a small batch first.
Common Odoo 19 import errors and how to fix them
| Problem | What to check |
| Column is not mapped | Choose the correct Odoo field, rename the header to a recognizable label, or remove the column if it is not needed. |
| Required value is missing | Fill in the required field for each affected row and test again. |
| Related record cannot be found | Check spelling, import the related record first, or use the correct identifier-based mapping. |
| Duplicate records appear | Check whether the file is being treated as new records. Use a reliable matching identifier for updates and test on a small sample. |
| Date or number is interpreted incorrectly | Standardize the source format and review CSV formatting options, regional settings, and decimal separators. |
| CSV values appear in the wrong columns | Check the delimiter, quotation marks, and file encoding. Re-save the CSV with the expected format. |
| Access or validation error | Check access rights, required fields, selection values, and model-specific validation rules. |
| Import stops partway through | Read the exact error message and determine whether any records were already created before retrying. |
Work from the exact error message. Avoid changing several unrelated columns at once; make a focused correction, test again, and keep track of what changed.
Best practices for large imports
- Make a backup or use a staging/test database before changing important production data.
- Start with a small sample of records and verify the results before importing the full file.
- Split very large imports into manageable batches when necessary.
- Keep the original source file and a cleaned import-ready copy.
- Record which fields were mapped and whether the import creates new records or updates existing ones.
- Check access rights and company context, especially in a multi-company database.
- After importing, review record counts and sample records rather than relying only on the success message.
For transactional data such as orders, invoices, or accounting records, take extra care. These records may depend on products, customers, taxes, journals, currencies, workflow states, or other configuration. Follow model-specific import guidance and validate the result with the responsible business user.
Practical example: Importing contacts
Suppose your company has a spreadsheet containing 200 contacts with Name, Email, Phone, Company, and Country.
Open Contacts and switch to the list view.
Choose Action → Import records.
Download the contact template if available, or upload your prepared .xlsx or .csv file.
Map Name, Email, Phone, Company, and Country to the corresponding fields. Confirm that Company is mapped to the intended relationship field.
Click Test and resolve missing values or unmatched related records.
Click Import, then review several contacts and compare the imported record count with the spreadsheet.
This is a straightforward dataset. If the file contains contacts linked to companies that do not yet exist in Odoo, import the companies first or plan the relationship mapping carefully.
Checklist before clicking Import
- I selected the correct Odoo app and model.
- The file has one header row and one record per row.
- Required values are present and formats are consistent.
- Every relevant column is mapped to the intended Odoo field.
- Related records exist or have a planned import order.
- I understand whether the import will create records or update existing ones.
- The Test step completes without blocking errors.
- I have a backup or a safe test environment for important data.
Conclusion
The Odoo 19 import tool makes it possible to move structured business data from Excel and CSV files into the right app without entering every record manually. The most reliable process is to prepare the file carefully, use a suitable template, map fields accurately, test the import, and verify the results.
For larger migrations or files with related records, spend extra time planning identifiers and import order. A small test import can prevent duplicate records and save considerable cleanup work later.
Frequently asked questions
Can I import data into Odoo 19 using Excel?
Yes. Odoo supports Excel .xlsx files and CSV files for many business objects. The exact import options depend on the model and configuration.
Should I use Excel or CSV for Odoo imports?
Use whichever format best fits your workflow. Excel is convenient for reviewing and editing data, while CSV is a common interchange format. In both cases, keep the data structured and validate the field mapping.
Can I update existing records instead of creating duplicates?
Yes, in supported cases, an import can update records when you provide a reliable identifier and map it correctly. External IDs are commonly used for repeatable updates. Test carefully on a small sample before updating production data.
Why does Odoo reject my import file?
Common causes include missing required values, incorrect field mapping, invalid selection values, unmatched related records, inconsistent dates or numbers, and insufficient access rights. Read the exact error message and correct the underlying issue before testing again.
Can I import related records in one file?
Some relationships can be handled in a single import, but the right approach depends on the model and relationship type. For complex relationships, import referenced records first and use stable identifiers where appropriate.
References and further reading
Odoo 19 Documentation — Export and import data: https://www.odoo.com/documentation/19.0/applications/essentials/export_import_data.html
Odoo 19 Documentation — Import products: https://www.odoo.com/documentation/19.0/applications/sales/sales/products_prices/products/import.html
Odoo 19 Documentation — Data files for developers: https://www.odoo.com/documentation/19.0/developer/reference/backend/data.html


1 Comment