

Managing employee expenses manually can make it difficult to track receipts, approvals, accounting entries, and reimbursements. Odoo 19 Expenses provides a structured workflow that allows employees to record business expenses, attach supporting receipts, submit them for approval, and follow their progress until reimbursement.
This guide explains the complete expense flow using a hotel accommodation expense as an example. The screenshots show the expense from creation and receipt attachment through submission, approval, posting, and payment.
- Create an Employee Expense
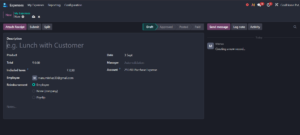
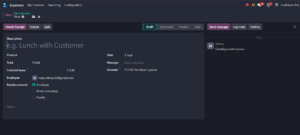
Employees can create a new expense from the Expenses application by selecting My Expenses and clicking New. The expense record contains the information needed to identify and process the business expense.
For this example, the expense is recorded as Hotel Accommodation Expense. The employee is Thomas, the expense amount is ₹7,840.00, and the reimbursement method is set to Employee. The record can remain in Draft while the employee completes the required information and attaches the supporting receipt.
- Attach the Receipt
A receipt provides supporting evidence for the expense and helps the approver verify the amount and nature of the transaction. In Odoo, the employee can use the Attach Receipt option to add the relevant document or image to the expense.
In the example, the attached hotel invoice contains the guest name, hotel details, stay dates, accommodation charges, breakfast charges, taxes, and total amount. Keeping the receipt attached to the expense makes the record easier to review and provides supporting documentation for accounting.
- Review the Expense Details
Before submitting the expense, the employee should verify the description, product, date, total amount, employee, reimbursement method, and expense account. In this example, the total is ₹7,840.00 and the expense is assigned to the Purchase Expense account.
The receipt displayed alongside the expense can also be checked against the amount entered in Odoo. This step helps reduce errors before the expense enters the approval workflow.
- Submit the Expense for Approval
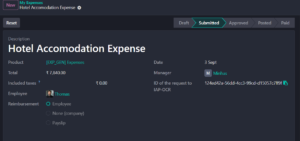
Once all information has been entered and the receipt has been attached, the employee can click Submit. The expense then moves from Draft to Submitted and becomes available for the responsible manager to review.
The Submitted stage indicates that the employee has completed the initial expense entry and sent it through the approval process. The manager can review the expense information and supporting receipt before deciding whether to approve or refuse it.
- Approve the Expense
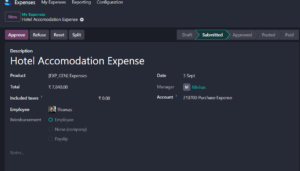
After reviewing the submitted expense, the manager can approve it. Approval confirms that the expense is accepted for further processing. If the expense does not meet company requirements, the manager can refuse it instead.
In this example, the manager approves Thomas’s hotel accommodation expense for ₹7,840.00. The status changes to Approved, allowing the expense to proceed to the accounting stage.
- Post the Expense
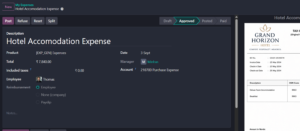
After approval, the expense can be posted to accounting. Posting creates the accounting transaction associated with the expense and moves it into the Posted stage.
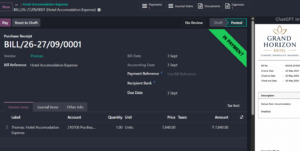
The accounting document shows the expense as a purchase receipt and includes the expense line, account, quantity, price, and total amount. This connects the employee expense process with the accounting records.
- Process the Reimbursement
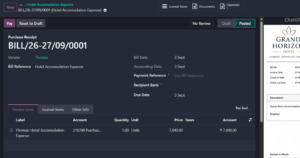
When the expense is configured for Employee reimbursement, the approved and posted amount can be paid back to the employee. The payment action records the settlement of the employee’s expense.
In the example, the accounting document shows the payment workflow after posting. Once the payment is processed, the expense can reach the Paid stage, completing the reimbursement cycle.
- Track Expenses from the Expenses Dashboard
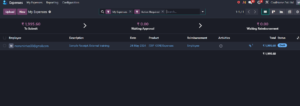
The Expenses dashboard provides an overview of employee expenses and their current status. Employees can identify expenses that still need to be submitted, while managers can review expenses waiting for approval. Reimbursement-related information can also be followed from the expense workflow.
This gives the organization a centralized view of expense records instead of relying on separate spreadsheets, emails, or paper receipts. It also makes it easier to identify expenses that require action.
- Complete Employee Expense Workflow in Odoo 19
The complete process can be summarized as: create the expense, enter the required details, attach the receipt, submit the expense, review and approve it, post the accounting entry, and process the reimbursement.
Using a defined workflow helps employees and managers understand where each expense stands. It also keeps the supporting receipt and accounting information connected to the same expense record.
Benefits of Managing Expenses in Odoo 19
- Centralized recording of employee business expenses.
- Receipt attachments kept with the related expense.
- Clear submission and approval workflow.
- Visibility into expense status from Draft through Paid.
- Integration of approved expenses with accounting.
- Better tracking of amounts awaiting submission, approval, or reimbursement.
- Reduced dependence on manual spreadsheets and separate documentation.
Conclusion
Odoo 19 Expenses provides a complete workflow for managing employee expenses from the initial submission to reimbursement. By recording the expense, attaching the receipt, submitting it for approval, posting the accounting entry, and processing payment, organizations can maintain a clear and traceable expense process.
The hotel accommodation example demonstrates how an expense can move through each stage while keeping the employee, amount, receipt, approval information, and accounting transaction connected in one place.




5 Comments